
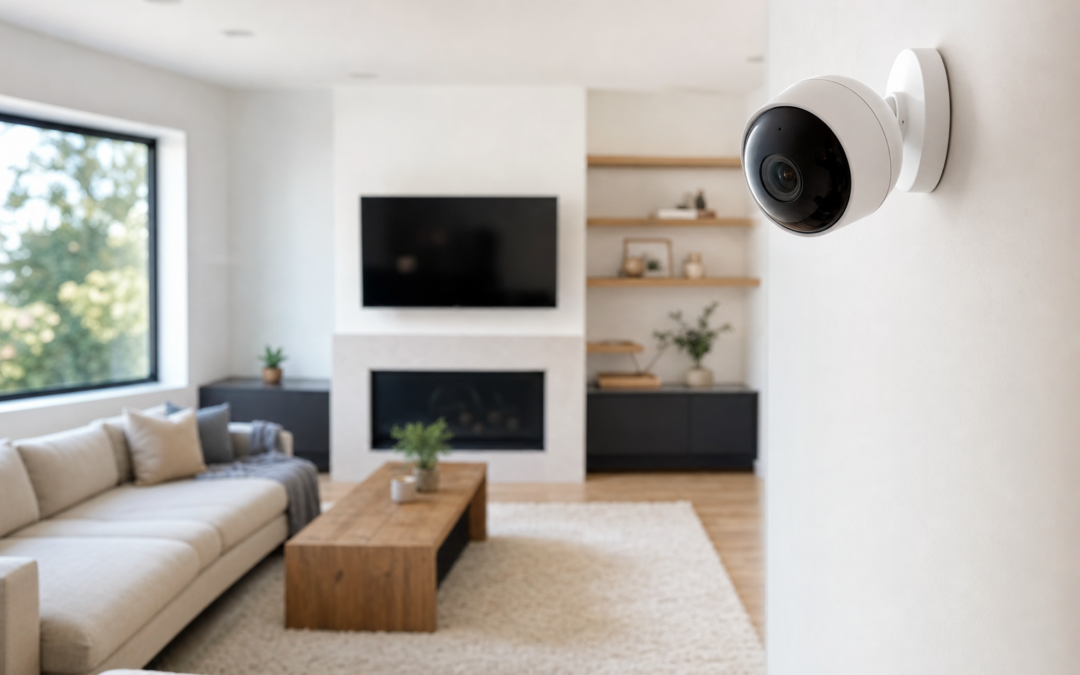
Installing indoor security cameras is one of the smartest steps you can take to protect your home and loved ones. But simply buying a top-rated camera isn’t enough—placement is everything. Poorly positioned cameras can leave blind spots, suffer from glare, invade your privacy, or even get triggered constantly by pets. If you want to maximize your indoor surveillance setup, knowing where and how to position your cameras is critical.
This guide covers practical, actionable tips for placing indoor security cameras to get the best coverage while avoiding common mistakes. You’ll learn about camera angles, camera types, privacy trade-offs, handling glare, and dealing with household pets. Whether you’re using a single camera to monitor your entryway or a network of smart cameras for comprehensive coverage, these strategies will help you eliminate blind spots and maintain control over your home’s security.
Why Camera Placement Matters
Even the most advanced camera won’t help if it can’t see what matters. Blind spots, obstructions, and poor angles can make footage useless when you need it most. Strategic placement ensures that your cameras maximize their field of view, capture important events, and provide evidence in case of incidents. It also helps minimize false alerts and respects your household’s privacy.
Identifying High-Risk Areas and Entry Points
Start by mapping out your home’s vulnerable spots. The most important locations for indoor cameras are:
- Main entrances: Front and back doors are the most common points of entry for intruders.
- Ground-floor windows: Especially those hidden from street view or near easy-to-climb features.
- Hallways: These act as chokepoints and can capture movement between rooms.
- Stairways: Monitoring staircases helps track movement between floors.
- Garages and basements: These often have exterior doors or windows and may store valuables.
After identifying these areas, decide how many cameras you need. One camera per entry point is a solid baseline, but you may want extra coverage for large or irregularly shaped rooms.

Blink Outdoor 4 – Wireless smart security camera Review — An editorial look at this Blink option for categories — specs first, marketing second. Key figures include 4 , 53, 5 .
Choosing the Right Camera Types for Each Room
Different spaces call for different camera features. Dome cameras, like the Cinnado 2K Security Camera Indoor, are great for rooms that need a wide, 360-degree view and can be mounted on ceilings or walls. Bullet cameras and compact surveillance cams are better for targeting specific entryways or hallways. Consider these factors when choosing:
- Field of View (FOV): A wide-angle lens (120°–180°) covers more area but may produce more distortion at the edges. Narrower lenses (60°–100°) are better for long hallways or focused views.
- Resolution: 1080p is the minimum for clear identification; higher resolutions provide more detail but require more bandwidth and storage.
- Two-way audio: Useful for communicating with family, pets, or even scaring off intruders.
- Night vision: Essential for low-light areas like basements or entryways used at night.
Match the camera type to the room’s size, lighting, and your monitoring needs for the best results.

Cinnado 2K Security Camera Indoor for Pet/Dog/Baby with Phone App Review — Practical dome cameras from Cinnado, summarized from hub features and listed measurements. Key figures include 360, 2, 1 pack.
Optimal Camera Angles to Minimize Blind Spots
Camera angle is just as important as location. Improper angling can create blind spots or leave key areas out of view. Here’s how to avoid the most common mistakes:
- Mount cameras at a downward angle: Position cameras 7–9 feet above the floor, angled down at 30–45 degrees. This covers the room without being easily tampered with.
- Point toward entry points, not away: Cameras should face doors and windows to capture faces, not just backs.
- Overlap coverage: If you’re using multiple cameras, overlap their fields of view to ensure there are no dead zones between them.
- Avoid aiming directly at light sources: This prevents lens flare, glare, and overexposed footage.
- Test different positions: Temporarily mount your camera and review sample footage before final installation to spot any missed areas.
For large rooms or open-plan spaces, consider using multiple cameras to cover all angles, especially if there are obstacles like furniture, pillars, or partial walls.
Reducing Glare and Reflections
Glare is a common indoor camera problem, especially in rooms with lots of windows or highly reflective surfaces like glass tables or glossy floors. Excessive glare can wash out your footage, making it hard to see faces or actions in critical moments. Here’s how to reduce glare:
- Avoid facing cameras directly at windows: Instead, position cameras perpendicular to windows or away from direct sunlight paths.
- Use curtains or blinds: Close them partially during peak sunlight hours to diffuse harsh light.
- Choose anti-glare cameras: Some models come with lens coatings or features that help minimize reflections.
- Watch for reflections from TV screens or mirrors: Adjust your camera angle or move reflective objects if possible.
Testing your setup at different times of day will help you spot and fix glare issues before they compromise your security footage.
Privacy Considerations: Balance Security and Comfort
Indoor cameras can feel intrusive if not carefully placed. Respecting your household’s privacy—especially in bedrooms, bathrooms, or other personal spaces—is essential. These tips help maintain privacy while ensuring coverage:
- Avoid placing cameras in bedrooms or bathrooms: Instead, monitor hallways, doors, and shared spaces.
- Use privacy zones: Some cameras let you mask certain parts of the frame (like a bedroom doorway) from being recorded.
- Turn off audio recording if unnecessary: This reduces privacy concerns and may help with legal compliance in some states.
- Let household members know: Always inform family, roommates, or guests about camera locations and policies.
Balancing security and privacy builds trust and keeps your home comfortable for everyone.
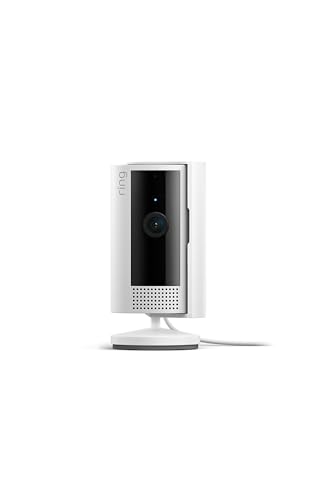
Ring Indoor Cam, Home or business security in 1080p HD video, White Review — Ring surveillance cameras gear aimed at buyers who want clear specs before they click through. Key figures include 53, 1 , 1.93 .
Adjusting for Pets: Reduce False Alerts and Nuisance Triggers
If you have pets, you’ve probably dealt with cameras sending alerts every time your dog walks by or your cat jumps onto a shelf. To reduce false alarms and endless notifications, try the following:
- Use pet-friendly motion detection: Many cameras let you set sensitivity levels or ignore motion below a certain height or size.
- Position cameras above pet level: Mounting cameras higher and angling them down can help focus on human-sized movement.
- Set activity zones: Define specific areas in the camera’s view—like doorways or hallways—where motion will trigger alerts, not the whole room.
- Test with your pets: Watch how your pets move through the space and adjust camera placement or settings accordingly.
Some indoor models are specifically designed for pet monitoring, offering features like two-way talk or even treat dispensers, so consider these if pets are a top priority.
Wireless vs. Wired Cameras: Placement Flexibility
Wireless cameras, such as many models from Blink or Ring, offer more placement flexibility since you aren’t tethered to power or Ethernet cables. However, they still need to be within range of your Wi-Fi router and may require regular battery changes or charging. Wired cameras are more reliable for continuous recording but need power outlets and cable management.
- Wireless: Ideal for renters or anyone wanting easy relocation. Check Wi-Fi signal strength at the intended camera spot before mounting.
- Wired: Best for permanent setups. Plan cable runs to avoid tripping hazards and keep cords out of sight for a cleaner look.
For most households, a mix of both types can provide the right balance of flexibility and reliability.

Blink Video Doorbell + Outdoor 4 Review — Blink categories gear aimed at buyers who want clear specs before they click through. Key figures include 4 , 4, 1 .
Height and Placement: Out of Reach, Yet Effective
Mounting height impacts both coverage and security. Cameras placed too low are easy to tamper with; too high, and you may miss facial details. The optimal height for most indoor cameras is between 7 and 9 feet above the floor, angled down at about 30–45 degrees. This provides a wide view and captures faces without exposing the camera to easy interference.
- Ceiling corners: Offer the widest view of a room and keep cameras out of reach of children and pets.
- High on walls, near doors: Good for monitoring entry points while staying discreet.
- On shelves or furniture: For temporary setups, placing cameras on bookshelves or cabinets can work, but make sure there are no obstructions.
- Avoid pointing at ceilings: Too steep an angle can lead to missed details and wasted coverage.
Always secure mounts firmly, especially if you’re using adhesive pads or magnetic bases. Accidental bumps or falls can move the camera and ruin your setup.
Covering Large or Open-Plan Spaces
Open-plan homes and large rooms present unique challenges. One camera rarely covers the entire area without leaving blind spots, especially if there are columns, partial walls, or large furniture pieces. Here’s how to tackle these spaces:
- Map the room: Sketch the floor plan and identify key sightlines and obstacles.
- Use multiple cameras: Place cameras at opposite corners to maximize coverage and create overlapping fields of view.
- Consider wide-angle or PTZ cameras: Pan-Tilt-Zoom (PTZ) cameras can cover more ground by moving automatically or via an app.
- Check for Wi-Fi “dead zones”: Large spaces may have weak signal spots—test before installation.
Review footage from each camera to make sure every corner is visible and adjust as needed. It’s better to slightly overlap coverage than to risk a blind spot in a crucial area.
Monitoring Hallways, Stairs, and Chokepoints
Hallways and stairways are strategic spots—they funnel all movement between rooms and floors, making them ideal for monitoring traffic inside your home. To get the best results:
- Place cameras at the ends of hallways: This provides a clear view down the entire corridor.
- Aim slightly downward: Ensures you catch faces, not just the tops of heads.
- Use narrow field-of-view lenses: These are perfect for long, straight spaces where you want detail at a distance.
- Monitor stair landings: Placing a camera at the top or bottom of a staircase covers all movement up or down.
Don’t forget to consider lighting—installing cameras near a hallway light or nightlight helps ensure clear footage after dark.
Testing and Fine-Tuning Your Setup
Even a carefully planned system can have unexpected blind spots or issues with lighting and motion detection. Before relying on your cameras, take the time to test and fine-tune each placement:
- Walk through the camera’s view: Have someone move through monitored areas to check what’s visible and what’s missed.
- Check footage at different times: Lighting changes throughout the day can reveal glare or dark spots.
- Adjust motion sensitivity: Tune settings so you’re alerted for real intrusions, not routine activity.
- Review privacy settings: Make sure any privacy zones or audio settings are correctly configured.
Regularly review and update your setup as your household changes—moving furniture, adding pets, or remodeling can all affect camera effectiveness.
Conclusion: Building a Blind-Spot-Free System
Effective indoor security camera placement is about more than just mounting a few devices around your home. It requires careful consideration of angles, privacy, lighting, and the unique needs of your household. By following the tips above, you can create a surveillance system that captures what matters, minimizes false alerts, and keeps your family comfortable and secure.
For more in-depth guides and reviews of top-rated indoor and outdoor surveillance cameras, check out our full Cameras & Surveillance hub.
Indoor Security Camera Placement Checklist
Before you finalize your camera setup, use this handy checklist to ensure you’re getting the best possible coverage and minimizing the risk of blind spots:
- Identify all entry points: Doors, windows, and other possible access routes.
- Map high-traffic areas: Hallways, staircases, and shared living spaces.
- Assess lighting conditions: Check for areas with poor lighting and ensure cameras have night vision if needed.
- Avoid direct sunlight and glare: Position cameras away from windows or use shades to prevent washed-out footage.
- Check for obstructions: Furniture, curtains, or decorations that might block the camera’s view.
- Test camera angles: Use your camera’s live feed to verify coverage before finalizing installation.
- Secure mounting: Ensure cameras are firmly attached to prevent accidental bumps or tampering.
- Protect privacy zones: Avoid pointing cameras into bedrooms, bathrooms, or neighbor’s property unless absolutely necessary.
- Pet-proof placement: Mount cameras high enough to avoid being triggered by pets, but low enough for useful footage.
- Ensure Wi-Fi coverage: Check signal strength at each camera location to prevent connectivity issues.
- Label camera feeds: For multi-camera setups, clearly label each feed for quick identification.
Common Mistakes to Avoid When Placing Indoor Cameras
Even with the best intentions, it’s easy to make errors that reduce the effectiveness of your surveillance system. Here are some of the most frequent mistakes—and how to avoid them:
- Placing cameras too high or too low: Cameras mounted too high may miss faces, while those too low can be easily obstructed or tampered with.
- Ignoring blind spots: Overlapping fields of view from multiple cameras can help eliminate areas that aren’t covered.
- Forgetting about lighting changes: A camera that works well during the day may struggle at night if lighting isn’t considered.
- Overlooking privacy concerns: Avoid installing cameras in private areas or where they could record sensitive conversations.
- Not securing cameras: Unsecured or poorly mounted cameras can be knocked out of position by pets, children, or intruders.
- Relying solely on motion detection: Excessive notifications from pets, shadows, or moving curtains can lead to “alert fatigue.” Adjust sensitivity and use activity zones to reduce false alarms.
- Neglecting to test after installation: Always review sample footage to confirm coverage and clarity.
Maintaining Your Indoor Security Cameras
Proper maintenance ensures your cameras function optimally and continue to provide reliable protection. Here are essential maintenance tips for indoor security cameras:
- Regularly clean lenses: Dust, smudges, and fingerprints can blur footage. Wipe lenses gently with a microfiber cloth every few weeks.
- Check camera positions: Over time, vibrations or accidental bumps can shift camera angles. Periodically verify that all cameras are still covering intended areas.
- Update firmware and apps: Manufacturers release updates to improve security and performance. Enable automatic updates or check for new versions monthly.
- Test connectivity: Ensure each camera maintains a strong Wi-Fi signal and quickly reconnects after power outages.
- Monitor storage: Check cloud or local storage to avoid running out of space—especially if recording continuously.
- Replace batteries (if applicable): Wireless cameras may need battery replacements every few months. Set reminders to check battery levels.
- Review footage regularly: Spot-check recordings to confirm video quality and responsiveness, and to ensure you’re not missing important events.
By following these maintenance steps, you can reduce the risk of unexpected camera failures and keep your surveillance system reliable year-round.
Frequently Asked Questions About Indoor Camera Placement
Where should I avoid placing indoor cameras?
To respect privacy and prevent legal issues, avoid installing cameras in bathrooms, bedrooms, or areas where guests expect privacy. Also, be mindful not to point cameras directly into neighbors’ windows or private spaces.
How high should I mount my indoor cameras?
For most situations, mounting cameras 7 to 8 feet above the floor gives a good balance between a wide field of view and clear facial recognition. This height also keeps cameras out of easy reach for tampering.
Can I use one camera to cover multiple rooms?
While wide-angle or 360-degree cameras can cover large spaces, walls and doorways limit their effectiveness across multiple rooms. It’s best to use a dedicated camera for each key area to avoid blind spots.
What’s the best way to handle glare from windows?
Position cameras at an angle to windows rather than directly facing them. Use curtains or blinds to diffuse sunlight, or select cameras with wide dynamic range (WDR) technology to better handle bright backlighting.
How do I prevent my pets from triggering motion alerts?
Mount cameras above your pet’s typical height and use motion detection zones to ignore areas where pets move frequently. Many modern cameras also include pet-specific filtering settings.
Do I need to tell visitors about indoor cameras?
In many regions, it’s recommended or even required by law to inform people if they are being recorded. Consider placing a small sign or verbally notifying guests for transparency.
How often should I check or reposition my cameras?
Review camera angles and footage every few months, or after moving furniture or making changes to your home’s layout. This ensures continued optimal coverage and helps eliminate new blind spots.
Final Thoughts: Maximizing Security While Maintaining Privacy
Placing indoor security cameras thoughtfully can dramatically improve your home’s safety without sacrificing comfort or privacy. By following a deliberate plan—identifying high-risk areas, choosing the right cameras, avoiding common mistakes, and maintaining your system—you’ll ensure your cameras work for you, not against you. Stay proactive about reviewing your setup, and your home will remain both secure and welcoming for everyone inside.